The content of the article
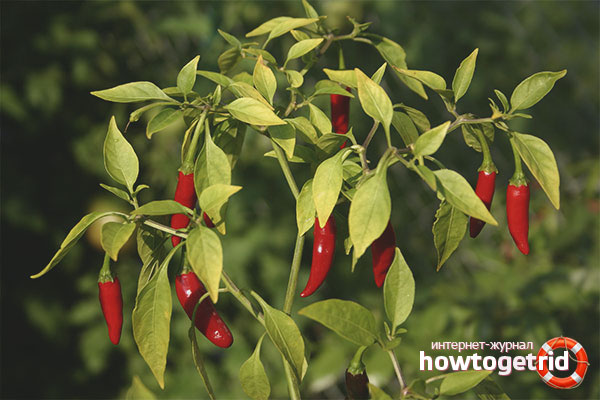
Pepper - a culture, though whimsical, but popular. In the garden, it is grown along with tomatoes and cucumbers. The ripening period of this plant is long - about 110–140 days, so not seeds, but ready seedlings are planted in open ground.
Both Bulgarian and bitter peppers are rather whimsical, therefore it is necessary to constantly maintain optimal temperature, not to overdo it with watering, and regularly fertilize young shoots.
Seed selection
Caring for a future crop begins with buying the right seeds. Some summer residents are guided by the principle: “It looks beautiful in the picture,” and they are mistaken. It is necessary to carefully study the information on the package:
- In which regions high germination and good harvest;
- Early ripe varieties can be planted in open ground in early May, and in the greenhouse - from mid-April;
- It is good if pepper is able to form fruits in regions with a dry climate and adverse conditions;
- Well, when the proposed variety was pre-treated, instilling immunity against apical rot;
- Plants with small peppercorns do not have to be tied;
- Bushes with large fruits (from 100 g or more) need additional support, otherwise they will break under the weight of the crop;
- They recommend buying at least two varieties: early and late. The first will arrive early in the summer, and it can be used for preservation and preparation of fresh salads. The second will ripen when the early peppers end, so even in autumn there will be fresh vegetables in the house.
Natural selection
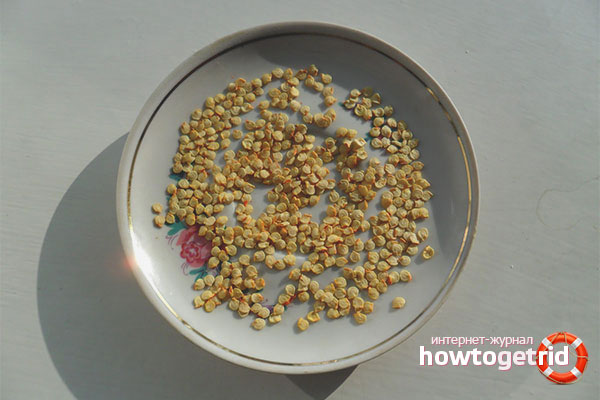
Seeds from sachets or personal stocks need to be sorted out. Pour onto a blank sheet of paper, and sort out faint, darkened, or warped specimens. Discard the defective seed, put the remainder at the bottom of a liter can, and pour the solution: 30 grams of salt per 1 liter of liquid. Vigorously pound, insist 7 minutes. Empty and lifeless seeds, not able to germinate, float to the surface. Drain the solution with pepper shells, rinse the residue with plain water, and dry. It is from them that a strong and hardy seedling will turn out.
Disinfection
Planting material in the ground should be planted in early February. At the first stage, it is necessary to disinfect the seeds. You can use fungicides:
- "Maxim";
- “Vitarosom”;
- Fitosporin-M.
Classic options:
- potassium permanganate (the solution should turn out dark pink, or even purple);
- 1% potassium permanganate;
- borax: 0.2 g of substance per 1 liter of liquid.
Put the seeds in a tissue bag or cheesecloth, immerse in a solution for 20–40 minutes, then rinse off thoroughly.
You can disinfect peppers with a herbal method. It will take 1-2 sheets of a three-year-old aloe, which is placed in the refrigerator for 7 days. Grind the workpiece, squeeze the juice, and dilute it with water in a ratio of 1 to 1. In this disinfectant composition, the seeds can lie for 8–12 hours.
Germination
Sanitized seeds are transferred to a wet rag folded in two layers and covered with a second wet piece. The pepper has a dense shell, so the sprouts appear on the 8-14th day. To speed up the process, before soaking the planting material can be immersed for 5 minutes in a solution of nitrate, or add 5% chlorine bleach to the water.
Saucer with seeds can be placed next to the battery, but you need to make sure that the rags do not dry out. The optimum temperature for sprouting pepper is 25–30 degrees Celsius.
Tip: Soak water for soaking for several days to get rid of bleach and heavy metals. You can let the liquid pass through the charcoal filter.Pour in the saucer only heated water, or warm willow decoction.
There should not be much fluid. A damp cloth and high temperature are ideal conditions for sprouts to appear. A lot of water and +25 - a great option for the emergence of rot and fungus.
Last dash
Immediately before planting, seeds are recommended to be soaked in nutrient solutions. Suitable "Uniflor-bud", "Zircon" or "Narcissus". Instead of chemicals, you can use wood ash: 30 g of dry ingredient 1 liter of liquid. Insist day, stirring constantly. Submerge the seeds in the prepared liquid for 12 hours, and then immediately plant them in moist soil. Peppers may not rise in dry ground.
Soil recipes for strong seedlings
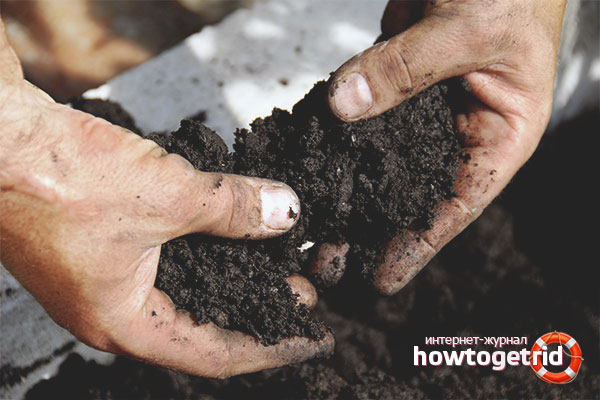
It is recommended to start preparing soil for planting pepper at the end of January - the first of February, so that it can be infused. As a basis, you can use chernozem from the garden, you can not take from sites on which solanaceous trees were planted in the previous year. The second option is peat. To make the base loose, add humus or rotted compost plus river sand. In two parts of the first and second component and 1 - of the third.
Keep the resulting mixture in a double boiler for at least an hour to destroy a possible infection and fungus. If it doesn’t work, at least pour boiling water over it.
In order not to waste time preparing the soil, you can buy in shops a special soil intended for growing peppers, or peat tablets. Manufacturers disinfect the material, so the owners of the garden do not need to sprinkle the soil with boiling water.
Tip: To keep moisture in the soil longer, you can buy balls with hydrogel. First, they are soaked in warm water, and then put in black soil.
Capacities for growing seedlings
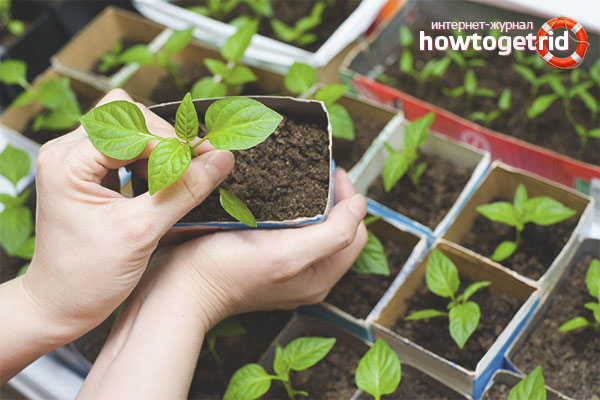
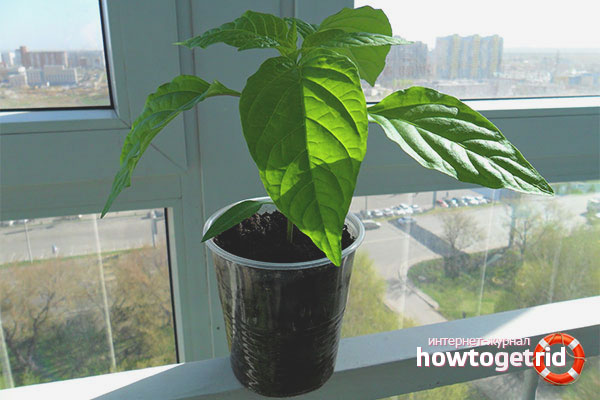
Pepper does not tolerate picking, so it is better not to plant seeds in a common box. The best option is peat cups or tablets. You can grow seedlings in cut packages of milk and cream, plastic bottles. Disposable cups will do. The bottom of the container must have one or more openings for the root system to breathe.
Homemade option
In order not to injure pepper during planting in open ground, it is recommended to make compact pots.
You will need:
- thick film, which is used for the construction of greenhouses;
- ordinary plastic bags;
- stationery elastic bands used to bandage notes;
- scissors;
- you can use a ruler and a pencil;
- Beginners are advised to arm themselves with a pea can.
Production Stages:
- Cut the film into small rectangles the size of a notebook sheet.
- Collapse in the shape of a cylinder. It will be easier if you wrap a tin can with foil.
- Fix the resulting figure with rubber bands.
- Insert plastic bags inside that serve as the bottom.
Container filling
Any container designed for growing pepper, put on a tray covered with a large bag, a garbage can fit. Pour a layer of drainage to the very bottom of the pot: sunflower husks, coarse sand, small pebbles or expanded clay. Some summer residents fill containers with polystyrene grated on a coarse grater.
Pour the prepared base into the pots, and tamp it a little. The sides should protrude 1.5–2 cm above the ground. In the center of the ground, make a recess with your finger or a stick. Pour a little water with the addition of "Narcissus" (3 g per 1 liter of liquid), "Zircon" (4 drops per 150 ml). You can treat the earth with a solution of potassium permanganate for additional disinfection, or potassium permanganate. Water should be warm.
Brittle material
- Germinated seeds are taken with tweezers, or “pricked” onto a damp match.
- Immerse in prepared wells for 1-2 pieces.
- It is better to put 2 seeds in the pot so that the shoots are guaranteed to appear.
- Sprinkle indentations with earth.The approximate layer thickness is 1.5 cm.
- Tamp the soil slightly, but not hard, otherwise it will be difficult for the pepper to hatch.
- Cover with a plastic bag or piece of film.
Important: Some summer residents believe that pepper needs carbon dioxide to accelerate seedling growth. In such cases, the seed pots are placed at the bottom of a large bag, exhaled several times inward, and tied tightly.
Place the container with future seedlings in a warm place, away from drafts. The temperature in the room where the pepper is pecking should not fall below + 25-30 degrees. When the first weak shoots appear (on the 6–9th day), rearrange the pots in a box or basin with high sides, and cover with glass. The bag must not be used so that condensation does not accumulate inside.
Put young seedlings on well-lit window sills. Place a match box under the glass to allow airing. If the pepper does not have enough ultraviolet light, a lamp is installed next to the pots (at a distance of 50 cm). You can buy a special variety, or use the usual desktop.
Ideal conditions
Pecked peppers need light. The temperature in the room during the daytime can vary between 23–19 heat. At night, the thermometer mark should not fall below +16. You can not water pepper until these leaves are formed, at least 2 pieces.
If the earth dries up, it can be sprayed. Moisture should not accumulate on the leaves or at the roots of seedlings, otherwise a fungus will appear, for example, a “black leg”, and all damaged specimens will have to be discarded.
Water treatments
Watering begins after the appearance of the third leaf. The soil is moistened every 3-4 days. The leaves of strong and healthy seedlings have a dark green hue. If the plants are light green and seem frail, you can add superphosphate (10 l - 30 g) with urea and potassium sulfate (10 g each) to the water. A liter of solution is enough for 10-12 bushes. After fertilizing with such components, the soil is watered with clean water to protect the roots from burns.
An alternative is the drug Effect, ammonium nitrate or bird droppings. The latter is diluted in hot water at the rate of 50 g per 1 liter of liquid. Do not insist, but immediately pour into the ground so that there is no characteristic smell in the room.
Rejection
If both seeds, planted in pots, have sprouted, you will have to leave only one bush. Wait until the pepper appears 2-3 leaves, and see which plant looks stronger. Cut a weak specimen, leaving the root in the ground. If you try to pull it out, you can damage the base of the second bush.
Finishing touches
It is recommended to temper seedlings 2–1.5 weeks before planting. To do this, it is placed on the balcony. On the first day, 1 hour is enough, on the following days it can be increased to 3-5.
When it comes time to plant pepper in the beds, you need to stop watering, so that the earth dries out a little, and the plant roots are stuck with a dense breast. Carefully remove the lump with seedlings from the pot, if these are cylinders from the film, just deploy them and stick them into the prepared chernozem. At first, pepper is covered with a film so that it adapts to new conditions, after which you need to remember watering and fertilizers.
Observing the temperature regime, and protecting the seedlings from excessive moisture, you can form healthy bushes that will give a good harvest. The main thing is not to plant bitter and sweet varieties nearby so that they do not mix, and to protect peppers from pests and diseases.
Video: tips for growing pepper seedlings

Submit